|
|
|
|
 How to make a composite air duct How to make a composite air duct
|
|
Date Posted: Jul 1 2003
|
|
Author: #Rotor
|
|
|
|
|
Posting Type: Article
|
|
Category: Air and Heat Pipes
|
|
Page: 1 of 2
|
Article Rank: from 2 Readers
Must Log In to Rank This Article from 2 Readers
Must Log In to Rank This Article
|
|
|
|
|
Note: This is a legacy article, imported from old code. Due to this some items on the page may not function as expected. Links, Colors, and some images may not be set correctly.
|
|
|
How to make a composite air duct By: #Rotor
|
|
|
|
|
How to make a Composite Air Duct
By: #Rotor - Guest Writer 7/1/03
|
|
|
|
|
#Rotor is the proprietor of his own website (Superior Cooling Methodologies) who is also quite active in the ProCooling Pro/Forums helping folks most often in the waterblock design and construction area. He recently posted a thread about making your own composite ducting, and this drove me to ask him to write this for us. I see this idea/procedure as a killer thing for those who are looking to get the most out of quiet fans and quiet airflow. Thanks to #Rotor for this article, now enjoy his handy work :)
|
|
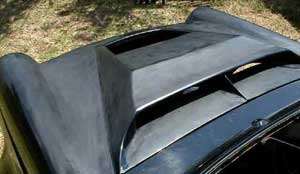
A couple of years back I was busy building a little street-Rod out of an 1968 Daihatsu Berlina, this endeavor introduced me to the wonderful world of Fiber glass, as well as aerodynamic design. It is from there that I
|
|
now bring you a little procedure I developed while designing air-ducts for that particular project's engine compartment.
|
|
|
|
|
 |
|
|
|
|
|
|
|
How to Make a Composite Shroud -
|
|
|
|
|
|
|
|
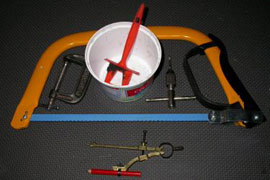
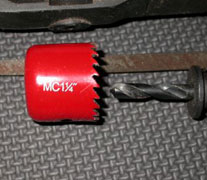
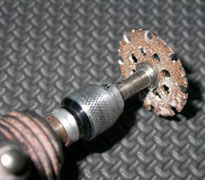
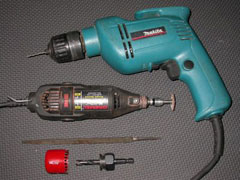
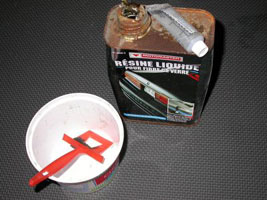
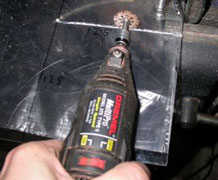
The tools required for this project are really nothing fancy. A hacksaw or Dremel, an electric drill, a plastic cup for mixing resin in, and a couple of drill-bits. A 1.25 inch hole-saw, is not required, but nice for making the corners of the flanges. I use 6NC32 bolts for attaching the fan and so forth, so I have a tap handy to pre-thread the duct. A G-clamp is also very handy to have. The Dremel is loaded with a carbide cutting wheel, but any cutting disk should work just fine.
The metal file is for removing any burr's on the flange edges, so as to not hook into the stockings when mounting them. Sandpaper will do the job just as well.
|
|
|
|
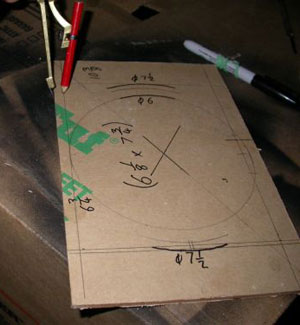
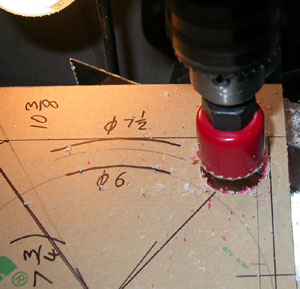
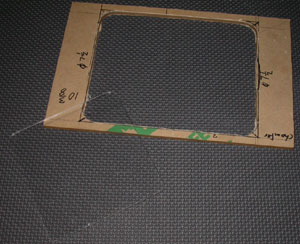
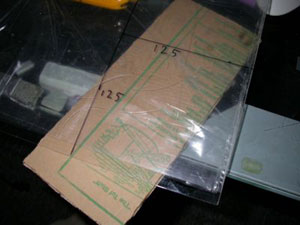
The design is actually very simple, and requires us to cut 2 flanges . The hole for the radiator is going to be 6 inches by 7.5 inches. The easiest way to do this, is to find the center of the flange by drawing a line from
|
|
each corner to it's opposing corner. Where they intersect, marks the spot. Then a protractor is used to draw two circles, as shown, the 6 inch circle indicated the long sides of the hole, the 7.5 inch, obviously the shorter sides. Now just draw lines parallel to the outer edge of the flange, to show where the hole need to be cut.
|
|
 |
|
|
|
|
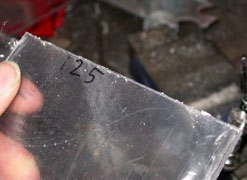
I opted to use a Dremel to do the cutting but you can use a hacksaw in a pinch. We are cutting the 120mm Fan flange first, the hole in the middle can be left uncut, untill the shroud is complete. Note that I made the flange 5mm bigger than required (125mm instead of 120mm) to give some work room to de-bur the edges if needed.
|
|
|
|
|
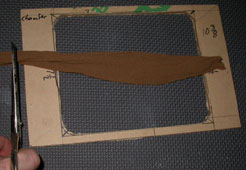
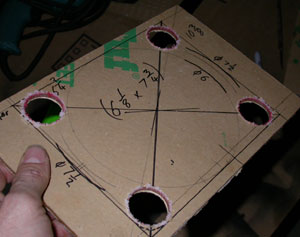
Cutting the hole into the radiator flange is a bit tricky. The way I find it to be easy, is by using the hole-saw, to cut holes on each corner. Then using the Dremel, just carefully cut the sides through. Be careful here, as to not brake the flange, especially where the frame is now much thinner.
|
|
|
 |
|
|
|
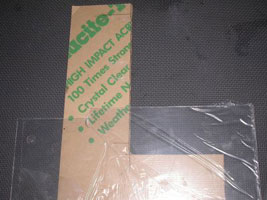
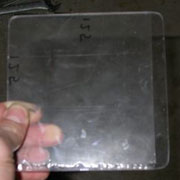
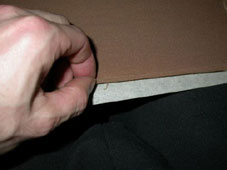
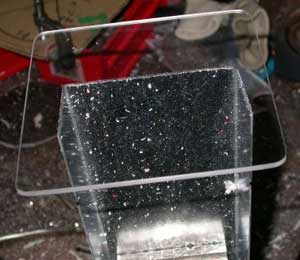
The chamfered corners on the Lexan pieces are important for allowing the Silk-stoking to blend nicely and makes it much easier to reposition the flange. Use a file (no, the metal one) for this, or a belt sander if you have one. The end result should look something like the picture to the right.
|
|
|
|
The Stocking / Shaping the Duct-
|
|
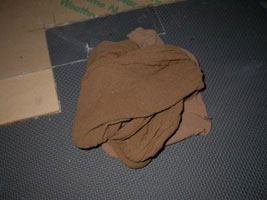
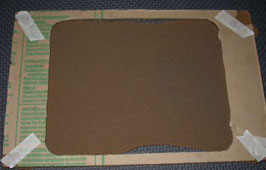
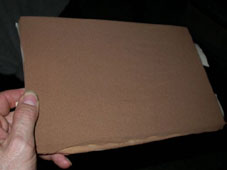
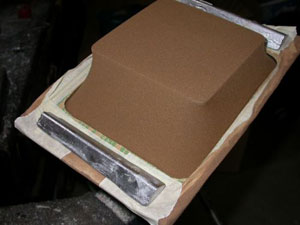
Now cut two or three similarly sized pieces of stocking, big enough to fit over the large flange. I find masking tape to work very well for holding the stocking in place. The stocking is not there for strength, only for creating the desired shape. A two layer composite seems to give enough rigidity for the shroud to be stiff enough to be used in most cases, but a three layer composite would be ideal and is what we are using in this shroud.
Start with the 4 corners, and then work your way round, until you have a nice even stretch. Do one layer at a time. once this is done, you should have a nice even looking layer covering the one side of the flange. This is the side that will form the inside of the shroud.
|
|
|
|
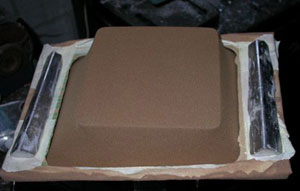
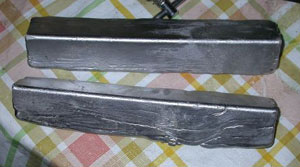
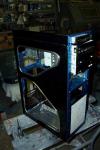
Put the fan's flange on a support structure to fit your need (height, angle, etc...). Then take the radiator side, with the stocking over it, and put it on top. by using 2 appropriately massed weights, on either end, have the radiator's frame stretch down to the desired position. Make sure everything is properly aligned.
|
|
|
|
|
 |
|
|
|
In this example, I'm having the fan on a slight incline, so as to miss some annoyingly large PCI cards in my rig. This is where the customization possibilities of the method will come in real handy.
|
|
|
 |
|
|
|
|
|
|
| Random Forum Pic |
 |
| From Thread: PowderCoating a Maze |
|
| | ProCooling Poll: |
| So why the hell not? |
|
I agree!
|
 67% 67%
|
|
What?
|
 17% 17%
|
|
Hell NO!
|
 0% 0%
|
|
Worst Poll Ever.
|
 17% 17%
|
Total Votes:18Please Login to Vote!
|
|